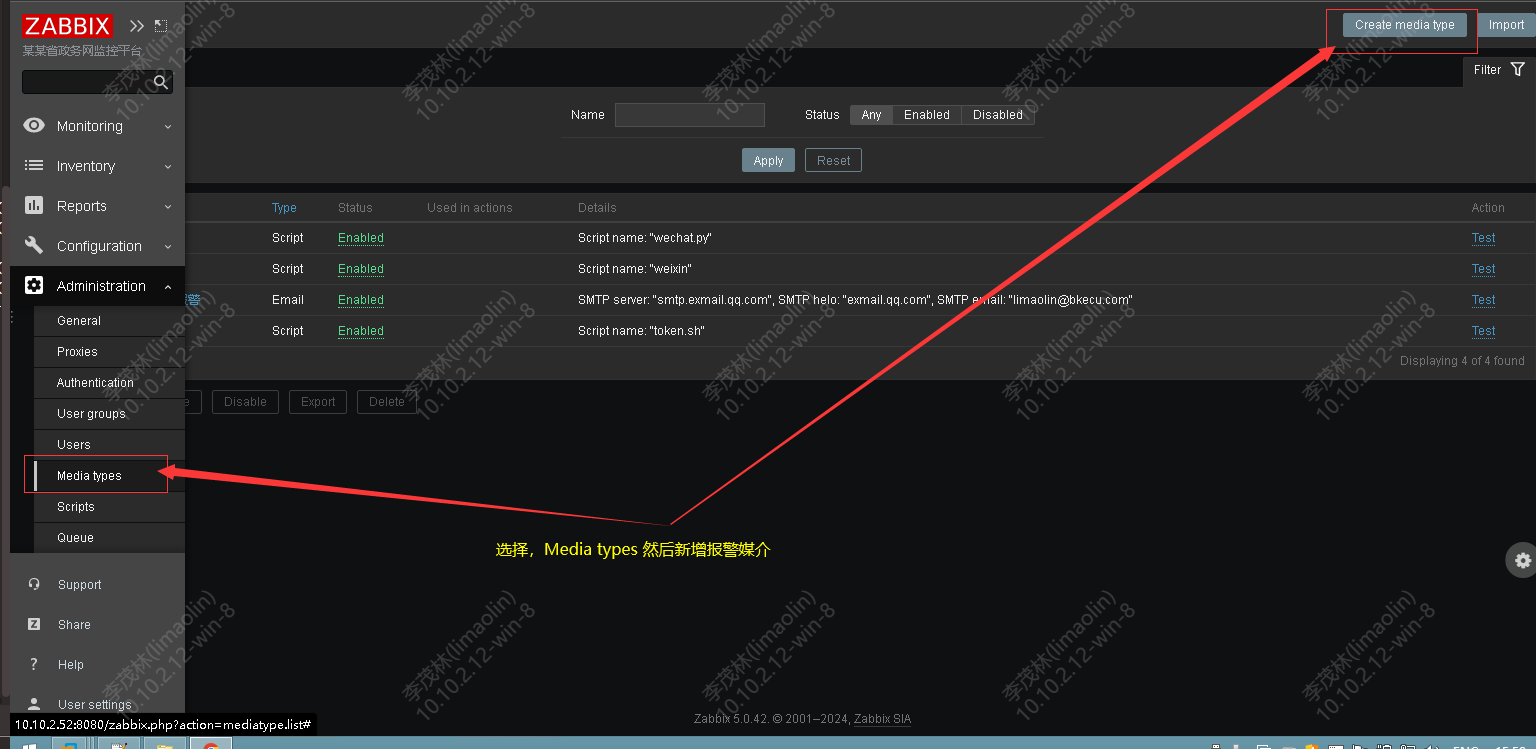
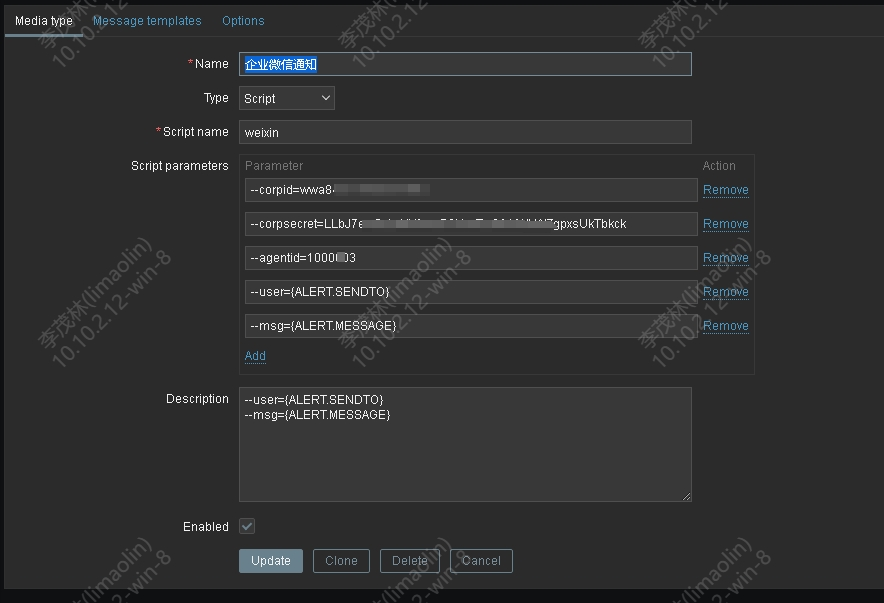
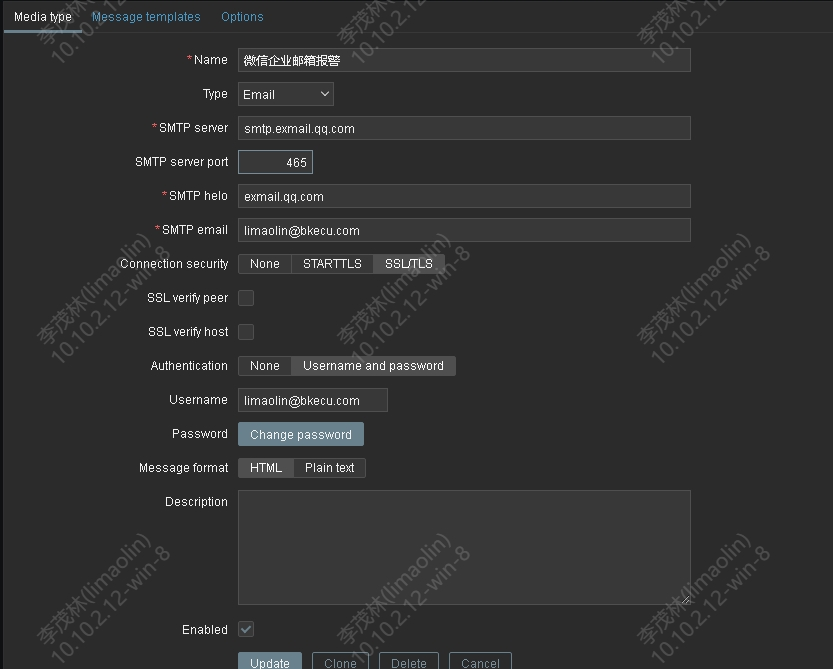
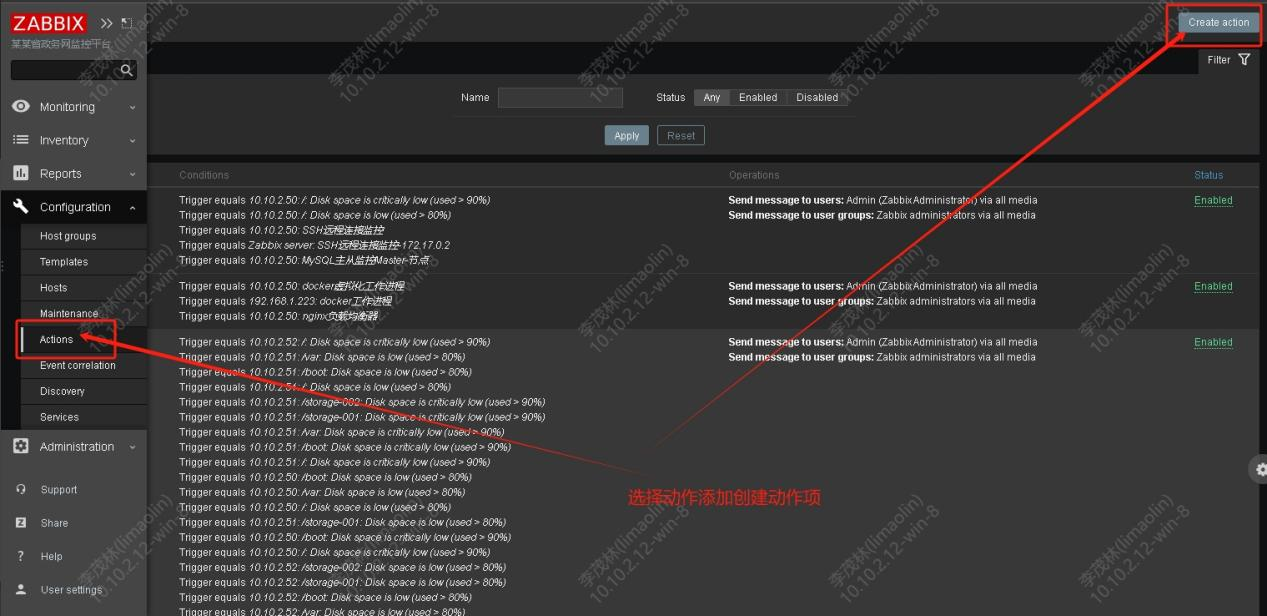
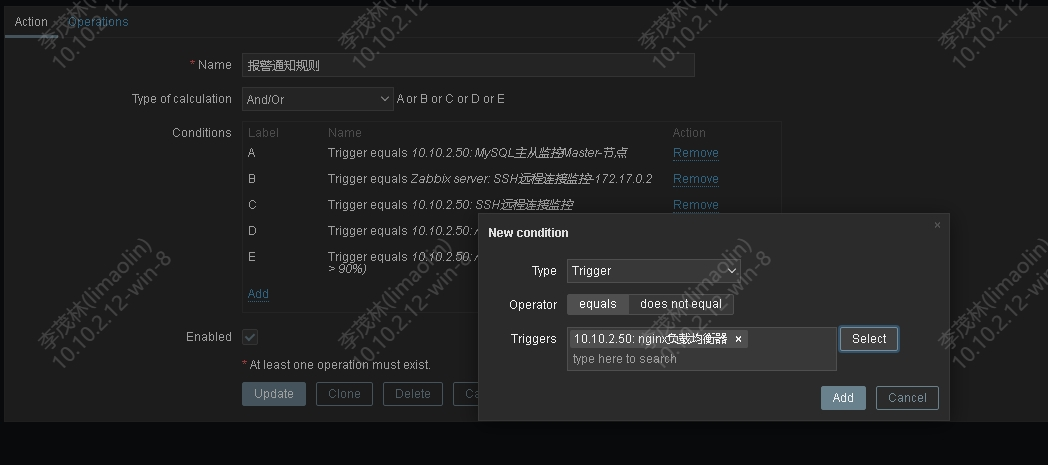
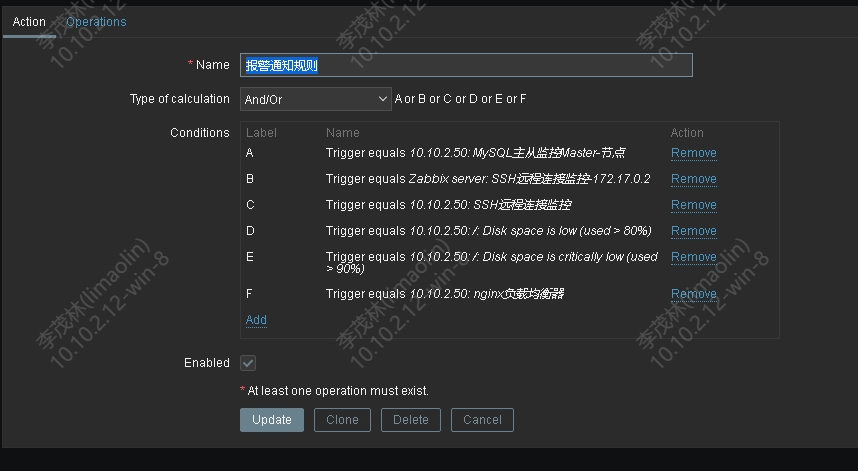
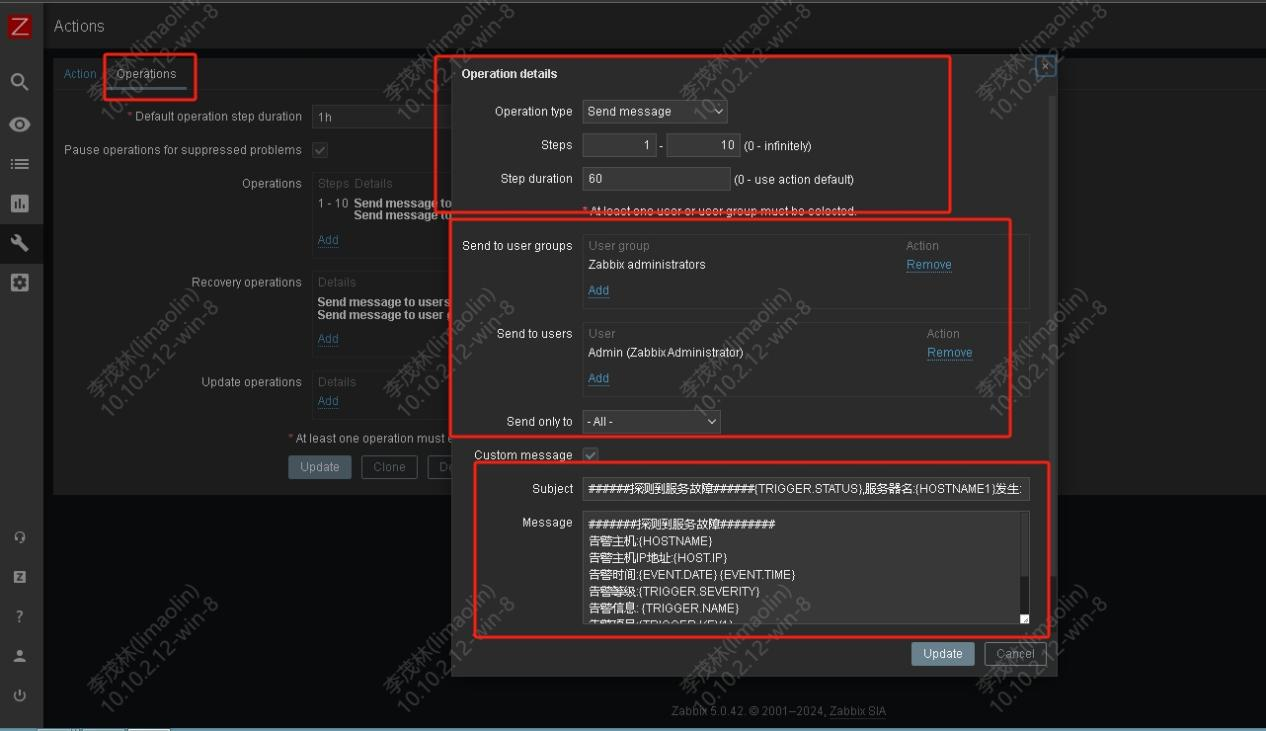
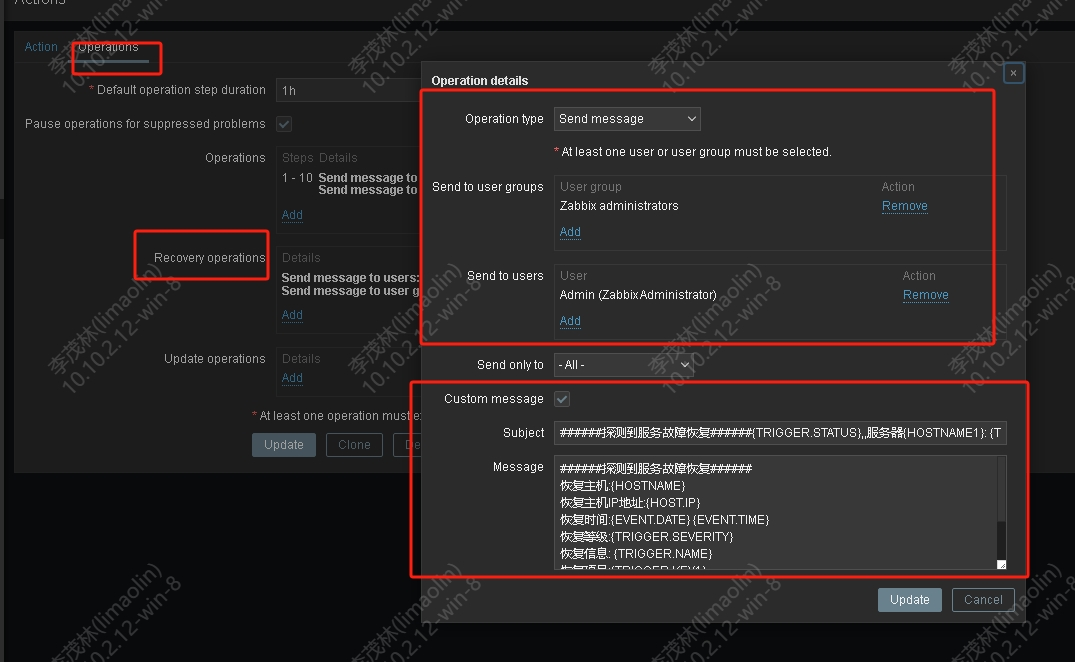
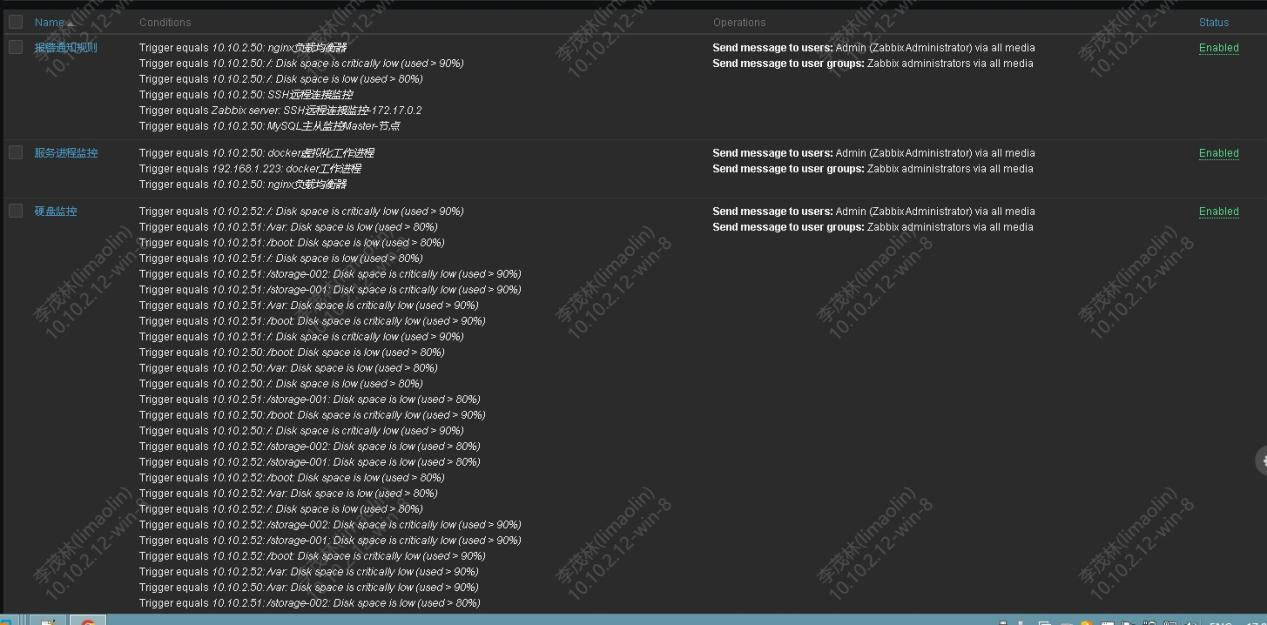
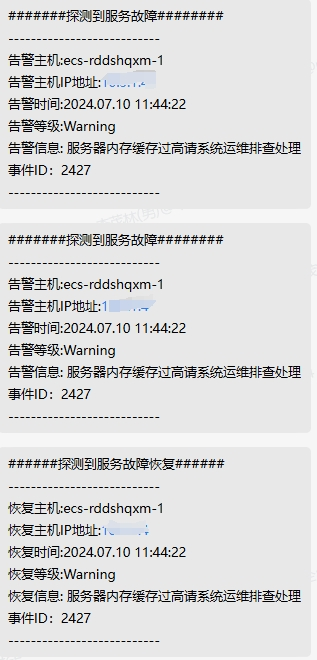
1.1.7.1,钉钉脚本通知配置方法
1 2 3 4 5 6 7 8 9 10 11 12 13 14 15 16 17 | </p> <h1>!/bin/bash</h1> <p>to=$1 subject=$2 text=$3 curl '<a href="https://oapi.dingtalk.com/robot/send?access_token=27f43b3d0a1935efdcfc79aaaaa552a304b278e7ce97c45ee856b6db9ce182af2199">https://oapi.dingtalk.com/robot/send?access_token=27f43b3d0a1935efdcfc79aaaaa552a304b278e7ce97c45ee856b6db9ce182af2199</a>' \ #token需要去钉钉申请详情请查看钉钉官网文档 -H 'Content-Type: application/json' \ -d ' {"msgtype": "text", "text": { "content": "'"$text"'" }, "at":{ "atMobiles": [ "'"$1"'" ], "isAtAll": false } }' |
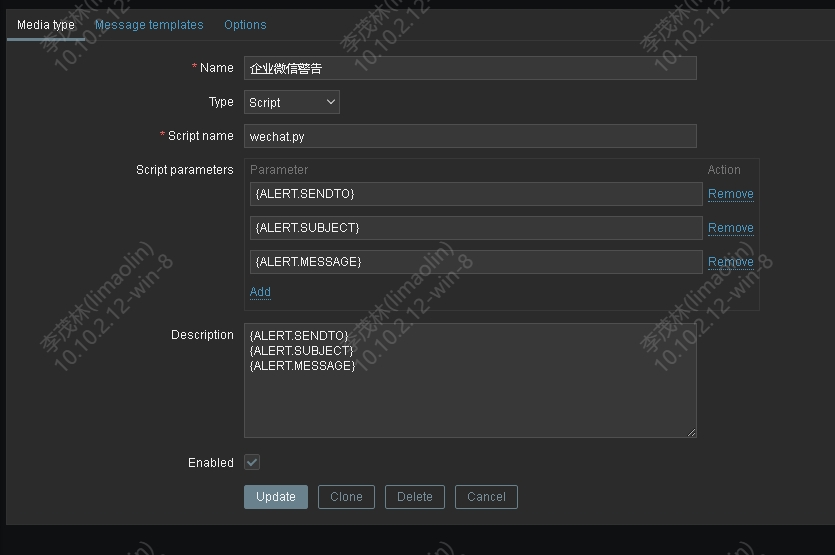
1.1.7.2,通过企业微信python脚本配置方法
1 2 3 4 5 6 7 8 9 10 11 12 13 14 15 16 17 18 19 20 21 22 23 24 25 26 27 28 29 30 31 32 33 34 35 36 37 38 39 40 41 42 43 44 45 46 47 48 49 50 51 52 53 54 | </p> <h1>!/usr/bin/python2.7</h1> <h1>_<em><em>coding:utf-8 </em></em>_</h1> <h1>auther: limaolin</h1> <p>import requests,sys,json import urllib3 urllib3.disable_warnings() reload(sys) sys.setdefaultencoding('utf-8') def GetTokenFromServer(Corpid,Secret): Url = "<a href="https://qyapi.weixin.qq.com/cgi-bin/gettoken">https://qyapi.weixin.qq.com/cgi-bin/gettoken</a>" Data = { "corpid":Corpid, "corpsecret":Secret } r = requests.get(url=Url,params=Data,verify=False) print(r.json()) if r.json()['errcode'] != 0: return False else: Token = r.json()['access_token'] file = open('/tmp/zabbix_wechat_config.json', 'w') file.write(r.text) file.close() return Token</p> <p>def SendMessage(User,Agentid,Subject,Content): try: file = open('/tmp/zabbix_wechat_config.json', 'r') Token = json.load(file)['access_token'] file.close() except: Token = GetTokenFromServer(Corpid, Secret) n = 0 Url = "<a href="https://qyapi.weixin.qq.com/cgi-bin/message/send?access_token=%s">https://qyapi.weixin.qq.com/cgi-bin/message/send?access_token=%s</a>" % Token Data = { "touser": User, # 企业号中的用户帐号,在zabbix用户Media中配置,如果配置不正常,将按部门发送。</p> <h1>"totag": Tagid, # 企业号中的标签id,群发使用(推荐)</h1> <pre><code> "toparty": Partyid, # 企业号中的部门id,群发时使用。 "msgtype": "text", # 消息类型。 "agentid": Agentid, # 企业号中的应用id。 "text": { "content": Subject + '\n' + Content }, "safe": "0" } r = requests.post(url=Url,data=json.dumps(Data),verify=False) while r.json()['errcode'] != 0 and n < 4: n+=1 Token = GetTokenFromServer(Corpid, Secret) if Token: Url = "https://qyapi.weixin.qq.com/cgi-bin/message/send?access_token=%s" % Token r = requests.post(url=Url,data=json.dumps(Data),verify=False) print(r.json()) return r.json() |
if name == 'main':
User = sys.argv[1] # zabbix传过来的第一个参数
Subject = str(sys.argv[2]) # zabbix传过来的第二个参数
Content = str(sys.argv[3]) # zabbix传过来的第三个参数
Corpid = "wwa84cc716ebe7aaa6e2" # CorpID是企业号的标识
Secret = "LLbJ7ew5gLzNVfvxmP2Kmf7pQfeYaaaWbWZgpxsUkTbkck" # Secret是管理组凭证密钥
Tagid = "1" # 通讯录标签ID
2
3
4
Partyid = "2" # 部门ID
Status = SendMessage(User,Agentid,Subject,Content)
print Status
1.1.7.5,配置通知测试是否支持通知信息成功
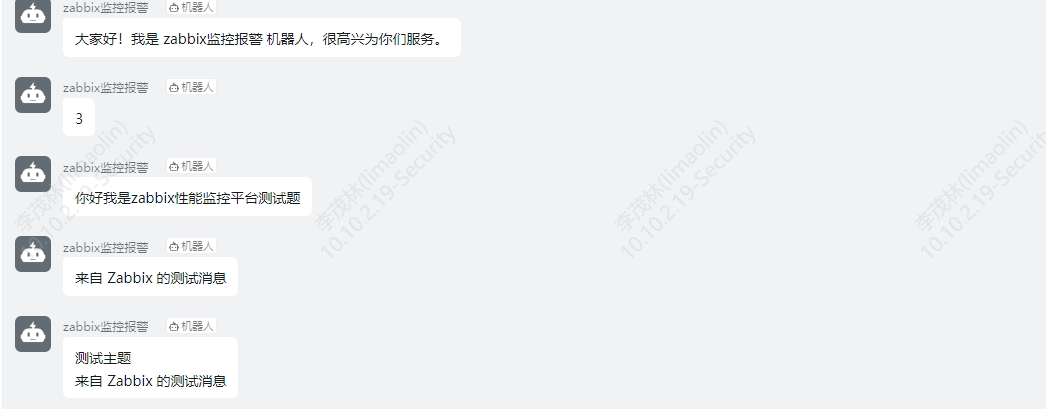
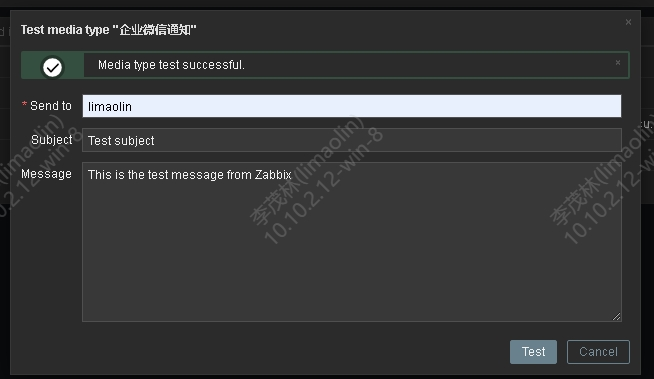
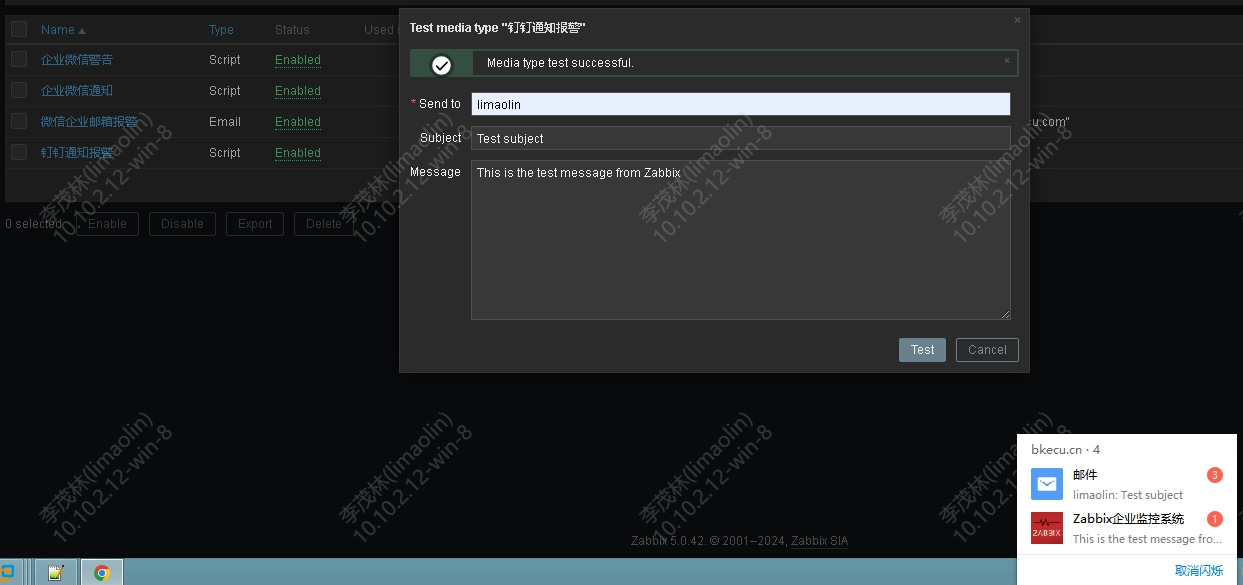
注意在配置调整过程中需要配置企业微信,和钉钉信任的网络IP地址,不然是不信任的IP就不支持通知信息
「梦想一旦被付诸行动,就会变得神圣,如果觉得我的文章对您有用,请帮助本站成长」
上一篇:Zabbix监控第五章
下一篇:没有了,已经是最新文章

